How to set up a MetaMask wallet shouldn’t be a tough nut to crack! Gone are the days of feeling lost in the world of cryptocurrencies – I’m here to make it simple. Let’s break it down. You’ll be up and running with your new MetaMask wallet in no time. Trust me, it’s as easy as pie. You get full control of your digital coins, and peace of mind knowing they’re safe. Plus, adding new tokens? It’s a breeze. Hang on, because I’m about to take you through a no-sweat journey that’ll leave you feeling like a crypto pro. Let’s dive into the magic of MetaMask together!
Getting Started with MetaMask: A Step-by-Step Installation Guide
Choosing Your Browser and Installing the Extension
I often meet folks curious about starting their own MetaMask journey. The first thing you need is the right browser. MetaMask works best on Chrome or Firefox. Now, let me guide you on installing MetaMask.
First thing’s first: install the MetaMask extension. Head over to the MetaMask website and click “Download”. Make sure you pick the right version for your browser. For Chrome users, look for “MetaMask Chrome add-on”. If you’re Team Firefox, find “MetaMask for Firefox”.
Click “Add to Chrome” or “Add to Firefox”. Your browser will check if it’s okay to add the extension. Hit “Add extension” to confirm. Congrats! You’ve got the MetaMask extension in your browser.
Setting Up Your Wallet for the First Time
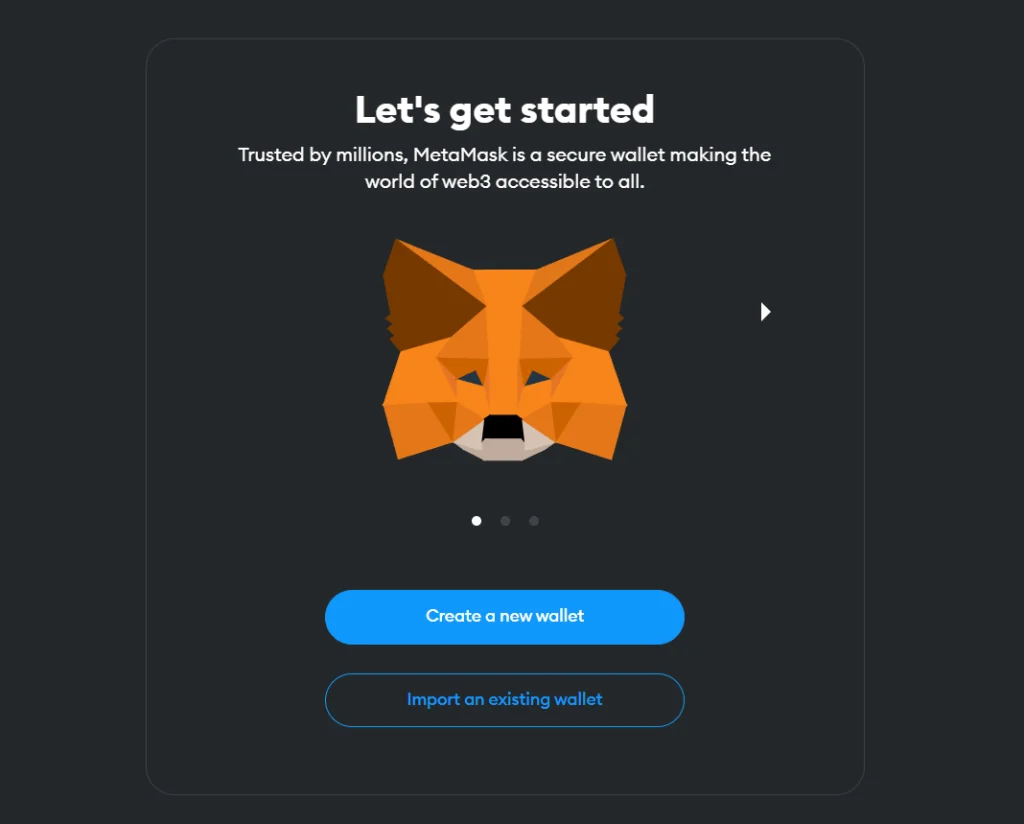
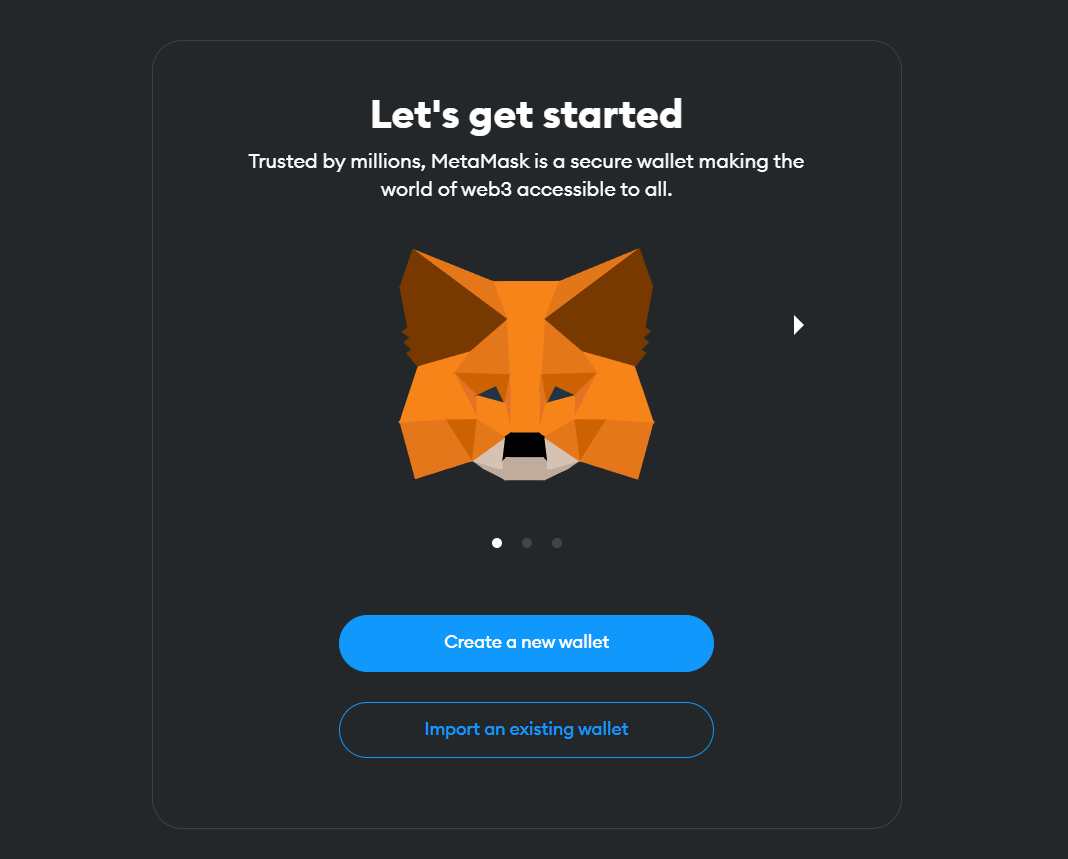
Got it installed? Great! Let’s set up your first MetaMask wallet. A new tab should open up with a welcome message. Look for a button that says “Get Started” and go for it. You’ve got two choices here: “Create a Wallet” or “Import Wallet”. If you’re new, click “Create a Wallet”.

MetaMask Magic
Now, it’s time for some important stuff. MetaMask will ask if they can gather some anonymous data. It’s up to you to allow it or not. Next comes creating a strong password. Take this part seriously. A tough password keeps sneaky folks out of your precious crypto. Use numbers, letters, and special characters to make it solid.
After that, MetaMask will show you your secret backup phrase, also called a seed phrase. This is super important. It’s the key to your wallet. Write it down and store it safely. Never share it with anyone.
Now you’ll prove you’ve saved your seed phrase. MetaMask will ask you to type it in the right order. Once you’ve passed this test, your wallet is ready. High five!
What’s next? Funding your wallet with some digital cash, like Ethereum. But remember, only buy crypto with money you’re okay with risking – it’s a wild world out there!
You now have the power to manage digital assets right in your browser. Stay tuned for the next steps in this crypto adventure. We’ll talk about beefing up your wallet’s safety, handling ERC-20 tokens, and the cool things you can do with decentralized apps.
You’ve started your journey with MetaMask, and it’s a big first step. You’re on your way to connecting with the blockchain and managing your digital treasure. Keep those keys safe, and you’ll do more than just fine. You’ll thrive in the crypto space. Have fun, and welcome to the MetaMask family!
Securing Your Funds: Mastering MetaMask Security Features
Crafting a Strong Seed Phrase and Backup Strategy
Your seed phrase is a super key to your MetaMask wallet. It’s like a magic password that can unlock your funds if you ever get locked out. Keep it safe! Let’s talk about why this is so critical and how to manage it like a pro.
Firstly, never share your seed phrase. Not with friends, not even with sites that seem legit. Bad actors are always lurking, trying to snatch your precious crypto. Write down your seed phrase on paper and stash it safely. Think of it like guarding a treasure map that leads to your digital gold.
What if you lose it? That would be a nightmare! To prevent this, make backups. You could use a safe at home or a safety deposit box if you want that extra security. And remember, if you lose this seed phrase without a backup, your funds are as good as gone. No one, not even MetaMask, can recover them for you.
Understanding and Managing Private Keys
Let’s talk keys next. Keys aren’t just for doors; in crypto, they unlock your wealth. Your MetaMask has a private key which is like the sibling to your seed phrase. It’s unique and must stay with you and you alone.
Think of your private key as your digital fingerprint. It proves that you—and only you—own your crypto. Just like you wouldn’t let someone copy your thumbprint, you never give out your private key. Keep it hush-hush!
You need to manage your private key wisely. If your computer dies, your private key doesn’t have to go with it. Always back it up. You’ve got options here: write it down or store it on a USB drive.
But stay sharp! If someone gets their hands on your private key, they get their hands on your wallet. That’s why we take no chances. It’s easy to lose digital stuff in today’s click-happy world. Back up your private key and keep it as safe as your heart!
To wrap it up, make your MetaMask wallet a fortress. Craft a seed phrase that’s tough to crack, back it up, and guard your private key like the crown jewels. Treat your crypto with the care it deserves, and you’ll enjoy peace of mind in the wild west of the web.
Managing Your Crypto: Adding and Using ERC-20 Tokens
Funding Your Wallet with Ethereum
First things first, you need some Ethereum in your MetaMask to get going. Why? Because it’s the juice that runs your transactions. It’s easy to fund your wallet—let me tell you how.

MetaMask Magic
Buy Ethereum through MetaMask or send it from another wallet or exchange. Just click the ‘Buy’ button or the ‘Deposit’ button and choose ‘View Account’ to see your wallet’s address. This address is what others will use to send you Ethereum.
Remember, every move you make on the blockchain costs a tiny bit of Ethereum. This cost is the ‘gas fee’. Without enough Ethereum in your wallet, you can’t move your tokens around.
Adding New Tokens and Managing Your Digital Assets
Now let’s add some new tokens to your MetaMask. It’s super simple. First, you make sure you’re on the Ethereum network. Then, you click ‘Add Token’ and search for your token or paste its unique contract address.
Once added, boom, you can see your token balance any time. Want to send some tokens to a friend or another wallet? Just a few clicks and it’s done. Click ‘Send’, enter the address you’re sending to, the amount, and off it goes.
Keeping track of all your tokens is key. MetaMask helps you see what you’ve got at a glance. Always keep an eye on what’s coming in and what’s going out.
People ask, “Can I see all tokens in MetaMask?” Yes! Most ERC-20 tokens will show up once added, but if they don’t, just add them manually like I explained.
And remember, your tokens’ safety is in your hands. Keeping your secret recovery phrase safe is like keeping the key to a treasure chest. Make sure only you know where it is.
With MetaMask, managing your tokens isn’t just smart—it’s smooth and fun too. Give it a go and you’ll see the wonders of your digital asset world come alive!
Maximizing MetaMask: Advanced Settings and dApp Integration
Adjusting Network Settings for Efficient Transactions
What are MetaMask’s network settings and why are they important? Network settings in MetaMask decide which blockchain you interact with and at what cost. They are key for smooth and cost-effective crypto transactions.
Set your MetaMask to work smart, not hard. Use the right network and pay less in fees. First, click on the colorful circle on the top. Choose ‘Settings’, then ‘Networks’. Here, you can add or select the right blockchain network.
Remember, the default network is the Ethereum Mainnet. But not all actions need this network. Networks like Binance Smart Chain or Polygon might suit some tasks more. Choose your network based on what you’re looking to do, like trade or play games.
Want to pay less gas? You can! Check a site like Etherscan for gas prices. Set your gas price in MetaMask to match the standard price. This way, you won’t overpay. Also, try to send funds when the network is quiet. Evenings or weekends can have lower fees.
Exploring dApps and Connecting Securely with MetaMask
How do you find and use dApps with MetaMask? dApps, or decentralized apps, work with MetaMask to use blockchain tech. To connect, find your dApp, click ‘Connect Wallet’, and choose MetaMask.
Ensure your connection is secure before you say yes. Look at the dApp’s site. Is it well known, and do others trust it? Your tokens are yours; keep them safe. Always sign out when done.
To find cool dApps, start with popular lists or trusted websites. Research is key. Check reviews or Reddit to see what others think. Your MetaMask can be a key to new games, markets, and more.
When you connect, some dApps will need you to sign in with your wallet. This proves it’s really you. It’s like a secret handshake between your MetaMask and the dApp.
Using a new dApp can be fun, but risks are there. Always double-check the dApp’s name and address. Sadly, scammers make fake sites. Use only well-known dApps with good histories. Your MetaMask holds real money, after all!
By fiddling with your network settings and safely connecting to dApps, your MetaMask becomes more than just a wallet. It’s a tool for the modern finance world. So take charge! Make those changes, and dive into the wide world of dApps with confidence. With careful steps, you can maximize what your MetaMask does for you.
In this guide, we walked through setting up MetaMask and keeping your crypto safe. First, we covered how to pick a browser, add the extension, and set up your wallet. Next, we dived into key security steps: crafting a solid seed phrase and handling private keys with care. Then, we learned how to add funds and manage ERC-20 tokens, enhancing your digital asset toolbox. Finally, we explored advanced settings and how to connect with dApps for a richer experience.
My final take? Using MetaMask can be easy and secure. Follow these steps, and you’re on your way to mastering MetaMask, staying safe, and making the most of your crypto. Keep learning and stay ahead in the digital currency world! Follow Dynamic Cryto network to update more knowledge about Crypto.
Q&A :
How do I get started with a MetaMask wallet?
Creating a MetaMask wallet is a straightforward process. Begin by downloading the MetaMask extension for your preferred web browser or the app for your smartphone. Once installed, open the application and follow the steps to create a new wallet. Remember to write down and safely store your recovery phrase—it is crucial for accessing your wallet if you forget your password or lose access to your device.
What are the necessary steps to configure MetaMask for the first time?
When you first launch MetaMask, you’ll be prompted to either import an existing wallet using a seed phrase or to create a new one. For a new wallet, create a strong password and make note of the provided seed phrase. Ensure to keep this seed phrase in a secure place as it’s the key to your wallet’s contents. After this initial setup, you can start adding cryptocurrencies and connecting to decentralized applications (dApps).
Can I add multiple accounts to my MetaMask wallet?
Yes, MetaMask allows users to add multiple accounts or “Addresses” under the same wallet extension. This feature enables you to manage various cryptocurrency portfolios or addresses for different purposes. To add a new account, simply click on your profile icon, select ‘Create Account’, and give it a name for easy identification.
Is my MetaMask wallet secure?
MetaMask incorporates significant security features to protect your assets, such as secure login, cryptographic password storage, and local data encryption. However, the safety of your assets also depends on your practices, like keeping your seed phrase private, using strong and unique passwords, and being vigilant against phishing attempts. It’s recommended to use a hardware wallet alongside MetaMask for enhanced security, particularly for substantial crypto holdings.
How can I recover my MetaMask wallet if my computer crashes?
If your computer crashes, you can recover your MetaMask wallet on a new device as long as you have your recovery seed phrase. Upon installing MetaMask on a new device, choose the ‘Import Wallet’ option and enter your seed phrase. This will restore all your accounts and funds associated with the wallet. Remember, anyone with your seed phrase can access your wallet, so keep it secure at all times.

